

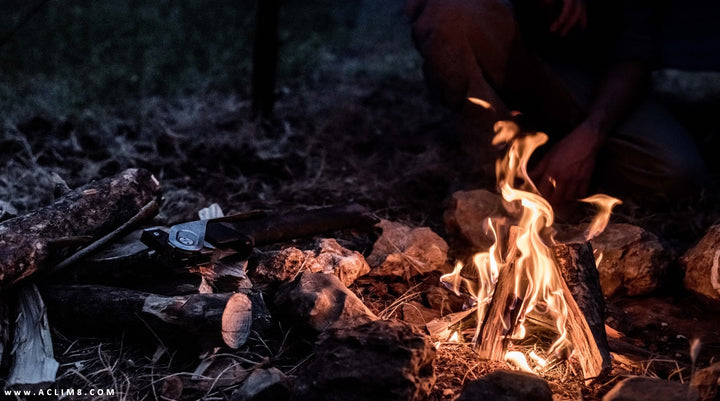
A small campfire can be the difference between surviving and perishing in the wild. It can keep you warm, dry your clothing, and allow you to boil and disinfect water. Not only that, but it can be used to cook food and even keep wildlife away.
Building a fire when you’re out in the woods by yourself isn’t quite as simple as it looks on TV, but once you know the basics, building an effective campfire becomes as second nature as eating breakfast or brushing your teeth. This article will teach you how to build your own campfire, so you can do it confidently no matter where you go or what kind of conditions you find yourself in.

Step 1: Pick Your Spot
Clear a space at least 6 feet (1.8 m) in diameter around your fire, free of burnable material such as trees, brush, and low branches.
Consider digging a fire pit. Setting a fire on the surface without knowing what is under the fire pit can lead to a root fire that can appear several feet away from the actual fire site. Fire pits (or rock barriers) also allow you to control airflow.
Gather enough dry tinder, kindling, and fuelwood before you start the fire. Place all within easy-reaching distance of your fireplace. (More on kindling in Step 2.)

Step 2: Gather Your Materials
Gather twigs, tinder, or fuelwood to build your fire. The amount of wood you will need depends on how big you want your campfire. If your fire is 3 feet (0.9 m) wide and 2 feet (0.6 m) high, you’ll need about 1 pound of wood per foot (about 4 pieces). Gather wood that is easy to break into smaller pieces—this will be very important when starting your fire!
The next material you need is tinder, an easily combustible material used at the first stage of starting a fire. Its primary purpose is to ignite kindling. It can be made of any flammable substance as long as it is finely divided and has an open structure. This needs to be able to hold its shape when lit so that it doesn’t just crumble away into the flames. Possible examples include dry grasses, shredded paper, wood shavings, or animal dung. Whatever you choose should be easy to light with a match or lighter.
Other materials needed are: Kindling - these can be sticks and twigs that are not thicker than your thumb but must have some flexibility (do not use pine). They should also be small enough, so they don't put out the flame before catching on fire. Make sure you gather kindling in the four essential sizes: pencil lead, pencil, thumb, and double-thumb.
(For more on kindling sizes, read 4 Alternative Fire-Starting Techniques from a Survivalist and Overlander.)
Wood logs are the primary fuel that keeps the fire going after it is started. Chop or saw from a dead tree, never a live one. A metal bucket is handy for preparing and gathering logs, but not essential. A well-built multitool, however, is absolutely necessary.

Step 3: Construct Your Fire Pit
Dig an indentation about 1/2′ deep 1 1/2′ wide before structuring your kindling wood over the top. After you've gathered enough dry tinder, lay small pieces of kindling around the edge.
Make sure there is space between each piece so air can flow easily through the fire pit.
(For more on modulating airflow, read 4 Alternative Fire-Starting Techniques from a Survivalist and Overlander.)
Finally, create a large teepee or square "Lincoln Logs" structure with your largest logs and place them over the pit. Stack another layer on top if you need more height for larger pieces of wood, like thick branches or logs. Now all you need to do is light it up!

Step 4: Add Your Kindling
Kindling is small dry wood sticks that ignite the fuel of the primary fire, such as wood logs. Thus, it keeps the fire going after it is started. For most campfires, kindling consists of twigs and branches. These can be gathered from near your campsite area if you are in the backcountry or overlanding campground. If not, find some smaller pieces of tinder (like paper) and place them under your larger pieces (logs). Add kindling around this tinder materials so they create enough heat to light your kindling material on fire, and then you’ll have an open flame that will spread into your large logs.

Step 5: Ignite Your Fire
This is the fun part. But it can be excruciatingly frustrating if you've half-asses steps 1-4. Construct your fire carefully, and ignition will be simple and enjoyable.
Bend the tinder in half and light the center. Light the fire from the windward side (wind at your back). Add kindling carefully to keep the fire growing. Once your fire is well lit and sustaining itself, gather more sticks and logs for fuel, if needed.
Step 6: Extinguish Your Fire
When you're ready to go to sleep or leave your campfire for any extended period of time, let your fire burn down to a fine ash.
Ensure your fire is completely extinguished. Use water or dirt if necessary. If you're backcountry camping, you'll need more than one fire so you can always have one burning while others are put out at night. It's also wise to keep a small supply of dry wood on hand to feed the next day's fires because wet wood will take much longer to ignite even after it has dried out.
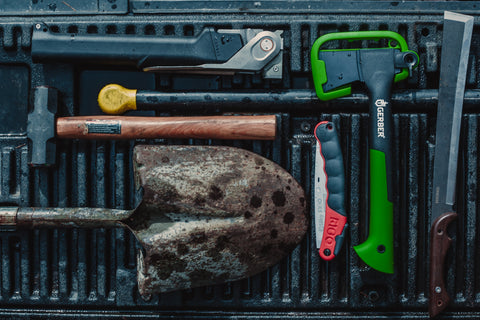
*The COMBAR (upper left corner) replaces all these other bulky tools. It's your all-in-one campfire prep tool.
Step 6: Clean Up Your Mess
We all play a vital role in protecting our wild places. As we spend time outdoors, in the natural world, and in the wilderness, it’s important to be conscious of our actions' effects on plants, animals, other people, and even entire ecosystems.
Following the Leave No Trace Seven Principles, summarized below, can help us minimize those impacts. They should be applied everywhere you go, all the time, while participating in outdoor recreational activities.
Final Thoughts
Consider your own mission-specific needs, and pack fire-starting equipment appropriately.
Bushcrafters, for example, will always pack items like cordage, ferrocerium rod, magnesium block, and striker, as well as their bushcraft knives—tools that enable them to start fires without matches or lighters as well as perform a variety of other tasks that might come up during their overlanding adventure!
————————————
Shop the gear from this article:

